Adding A Third Material- Reverse Applique
Under-Coloring
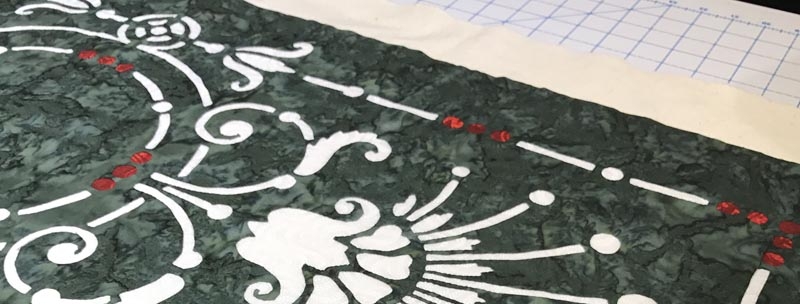
Victorian Urn, table runner I. Groupings of small circles under-colored with an accent fabric.
I love the receding dimension created by reverse appliqué. However, there are times when I want to add a spot of color, but still have it reverse appliqué. I call it under-coloring. I have under-colored the Victorian Urn table runner, pictured above.
This tutorial will walk you through how easy it is to under-color any pattern.
Step 1: Trace
As in all our patterns, I begin by tracing the whole design onto the wrong side of the background fabric. In this example the white fabric is the background fabric. (See Tutorials, Reverse Needle turn Applique for step by step directions for our Trace, Baste, Snip Stitch process).
After looking at my pattern and my fabrics, I decided I wanted the groupings of small circles to be under-colored with a red accent fabric.
Step 2: placing the accent fabric
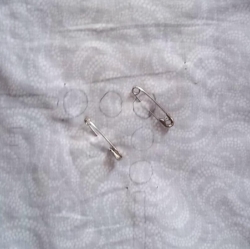
I layer a small piece of my accent fabric on the right side of the white background fabric, covering the groupings of small circles traced on the wrong side, and pin in place. Next I baste around the edges of the accent fabric. See pic 1., 2. and 3 below.

Pic. 1.
Place accent fabric on right side of background fabric. Pin in place.
Pic.2.
Accent fabric pinned in place covering the shapes to be under-colored. Seen from the wrong side of the background fabric.
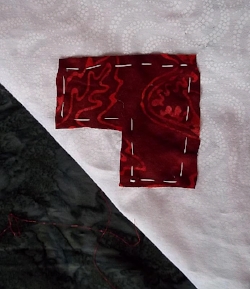
Pic. 3.
Accent fabric basted around the edges.
I do this for all groupings to be under-colored.
Step 3: Layer background fabric with top fabric
Next I layer my background and top fabrics, with both right sides facing up, and pin-baste. as per our Reverse Needle-turn Applique tutorial. Layer with both right sides facing up. Pin- baste.
Step 4: Baste
I use my No. 7 Sharps needle and thick thread in a contrast color to my top fabric, and baste through all layers on the design lines. Where there is only the top and background fabric I baste through two fabrics. Where I have basted in my red accent fabric I baste through three fabrics. (see Blog-BASTING. NO, NOT A TURKEY (tutorial, March 21, 2014) for tips) see pic 5 and 6.

pic.5
Basted on the design lines through all layers of fabric. viewed from the back.
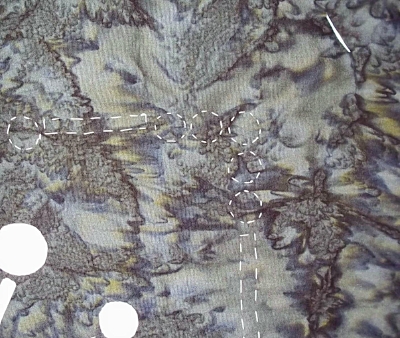
pic. 6
Basted on the design lines through all layers of fabric. Viewed from the front.

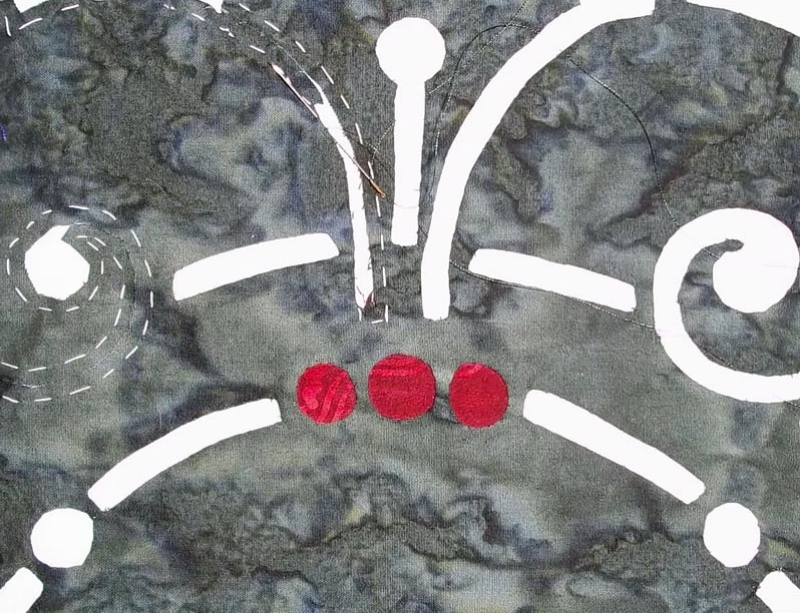
pic. 7.
The accent fabric peaks through after it is trimmed.
Flip the piece over so you are looking at the top fabric.
Step 5: Snip
Once basted, I’m ready to trim away ONLY the top fabric to reveal the design in the background fabric. In the sections where it is under-colored, I will see my red accent fabric. In the rest of the piece I will see the white background fabric. see pic 7.
I carefully separate the top layer and trim away, eye-balling the creation of a seam allowance, 1/8” - 1/4”. I clip the curves and every other basting thread.
pic. 7.
Reverse applique complete on center under-colored circle group. The rest of the shapes are reverse appliquéd to reveal the white background fabric.
Step 6: Stitch
I thread my No. 11 Milliner’s needle with dark green thread because it matches my top fabric.
I remove a basting thread, sweep under the raw edge to the basting line with my needle. I hold in place with my left thumb(I a righty) as I come up from the back with my needle-being sure to catch the folded edge, and take a stitch. I continue stitching my circle until all the raw edges are sewed under. See pic. 7.
When done, my table runner is all reverseappliqué, with the majority of the design in white with red accents.
An easy, fun way to add a bit of dimension to my Victorian Urn table runner I.

Victorian Urn has gone holiday with Green top fabric, white background fabric and under-color red accents. Then I added a red binding to complete the effect. Quilting created with Holly Border #30355 from Full Line Stencil.