Tracing Tips for Darker Fabrics & other Hints
All of Eye of the Beholder Quilt Design’s patterns are created with our Trace, Baste, Snip & Stitch process. The first step, after pre-washing, ironing and cutting your fabrics, is to trace the design onto the wrong side of the background fabric. Generally, we suggest using a light background fabric. Light backgrounds to darker tops give a strong value contrast, making the pattern designs stunning to see. Light fabrics also make it easier to trace the design because you can see the pattern through the fabric.

Nature's lightbox.
Good light is always essential to seeing what you are doing. Even with light background fabrics you may want a lightbox. Don't have one? Tape everything to a big window on a sunny day. Nature's lightbox.
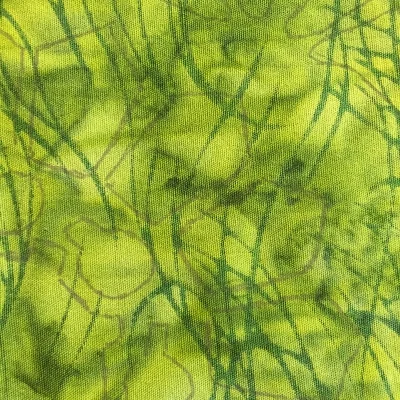
But sometimes, you just want to use a medium or dark background fabric…like I have with versions of our flowers and the borders for Victorian Flower Garden Quilt IV.
Before I get into how to trace onto darker fabrics, I want to share a tip about tracing (drawing) smoothly on fabric.
Drawing smoothly on fabric
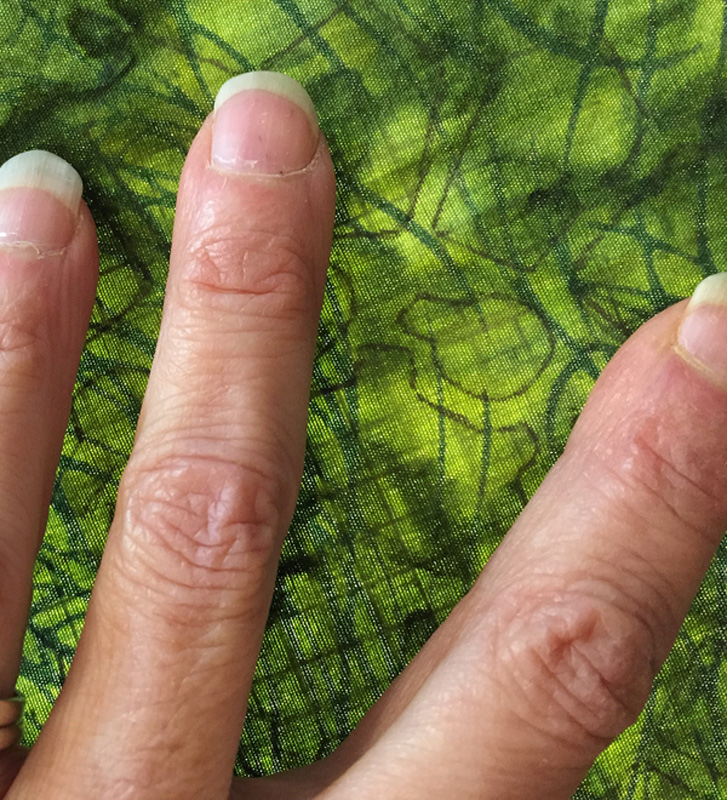
When tracing, you want to press the fabric down with your free-hand. Once the fabric is pressed down onto the pattern it becomes more visible through the fabric. It also stabilizes the grain of the fabric so you can trace more accurately without the fabric swimming. I’m constantly re-positioning my left hand, my free hand, and holding the fabric down as I trace.
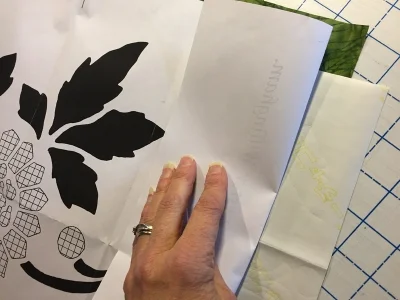
Seeing the pattern through fabric that is NOT pressed down with my free hand. No lightbox, either.

Pressing the fabric onto the pattern with my free hand. See how much more clearly you can see the pattern through the fabric?
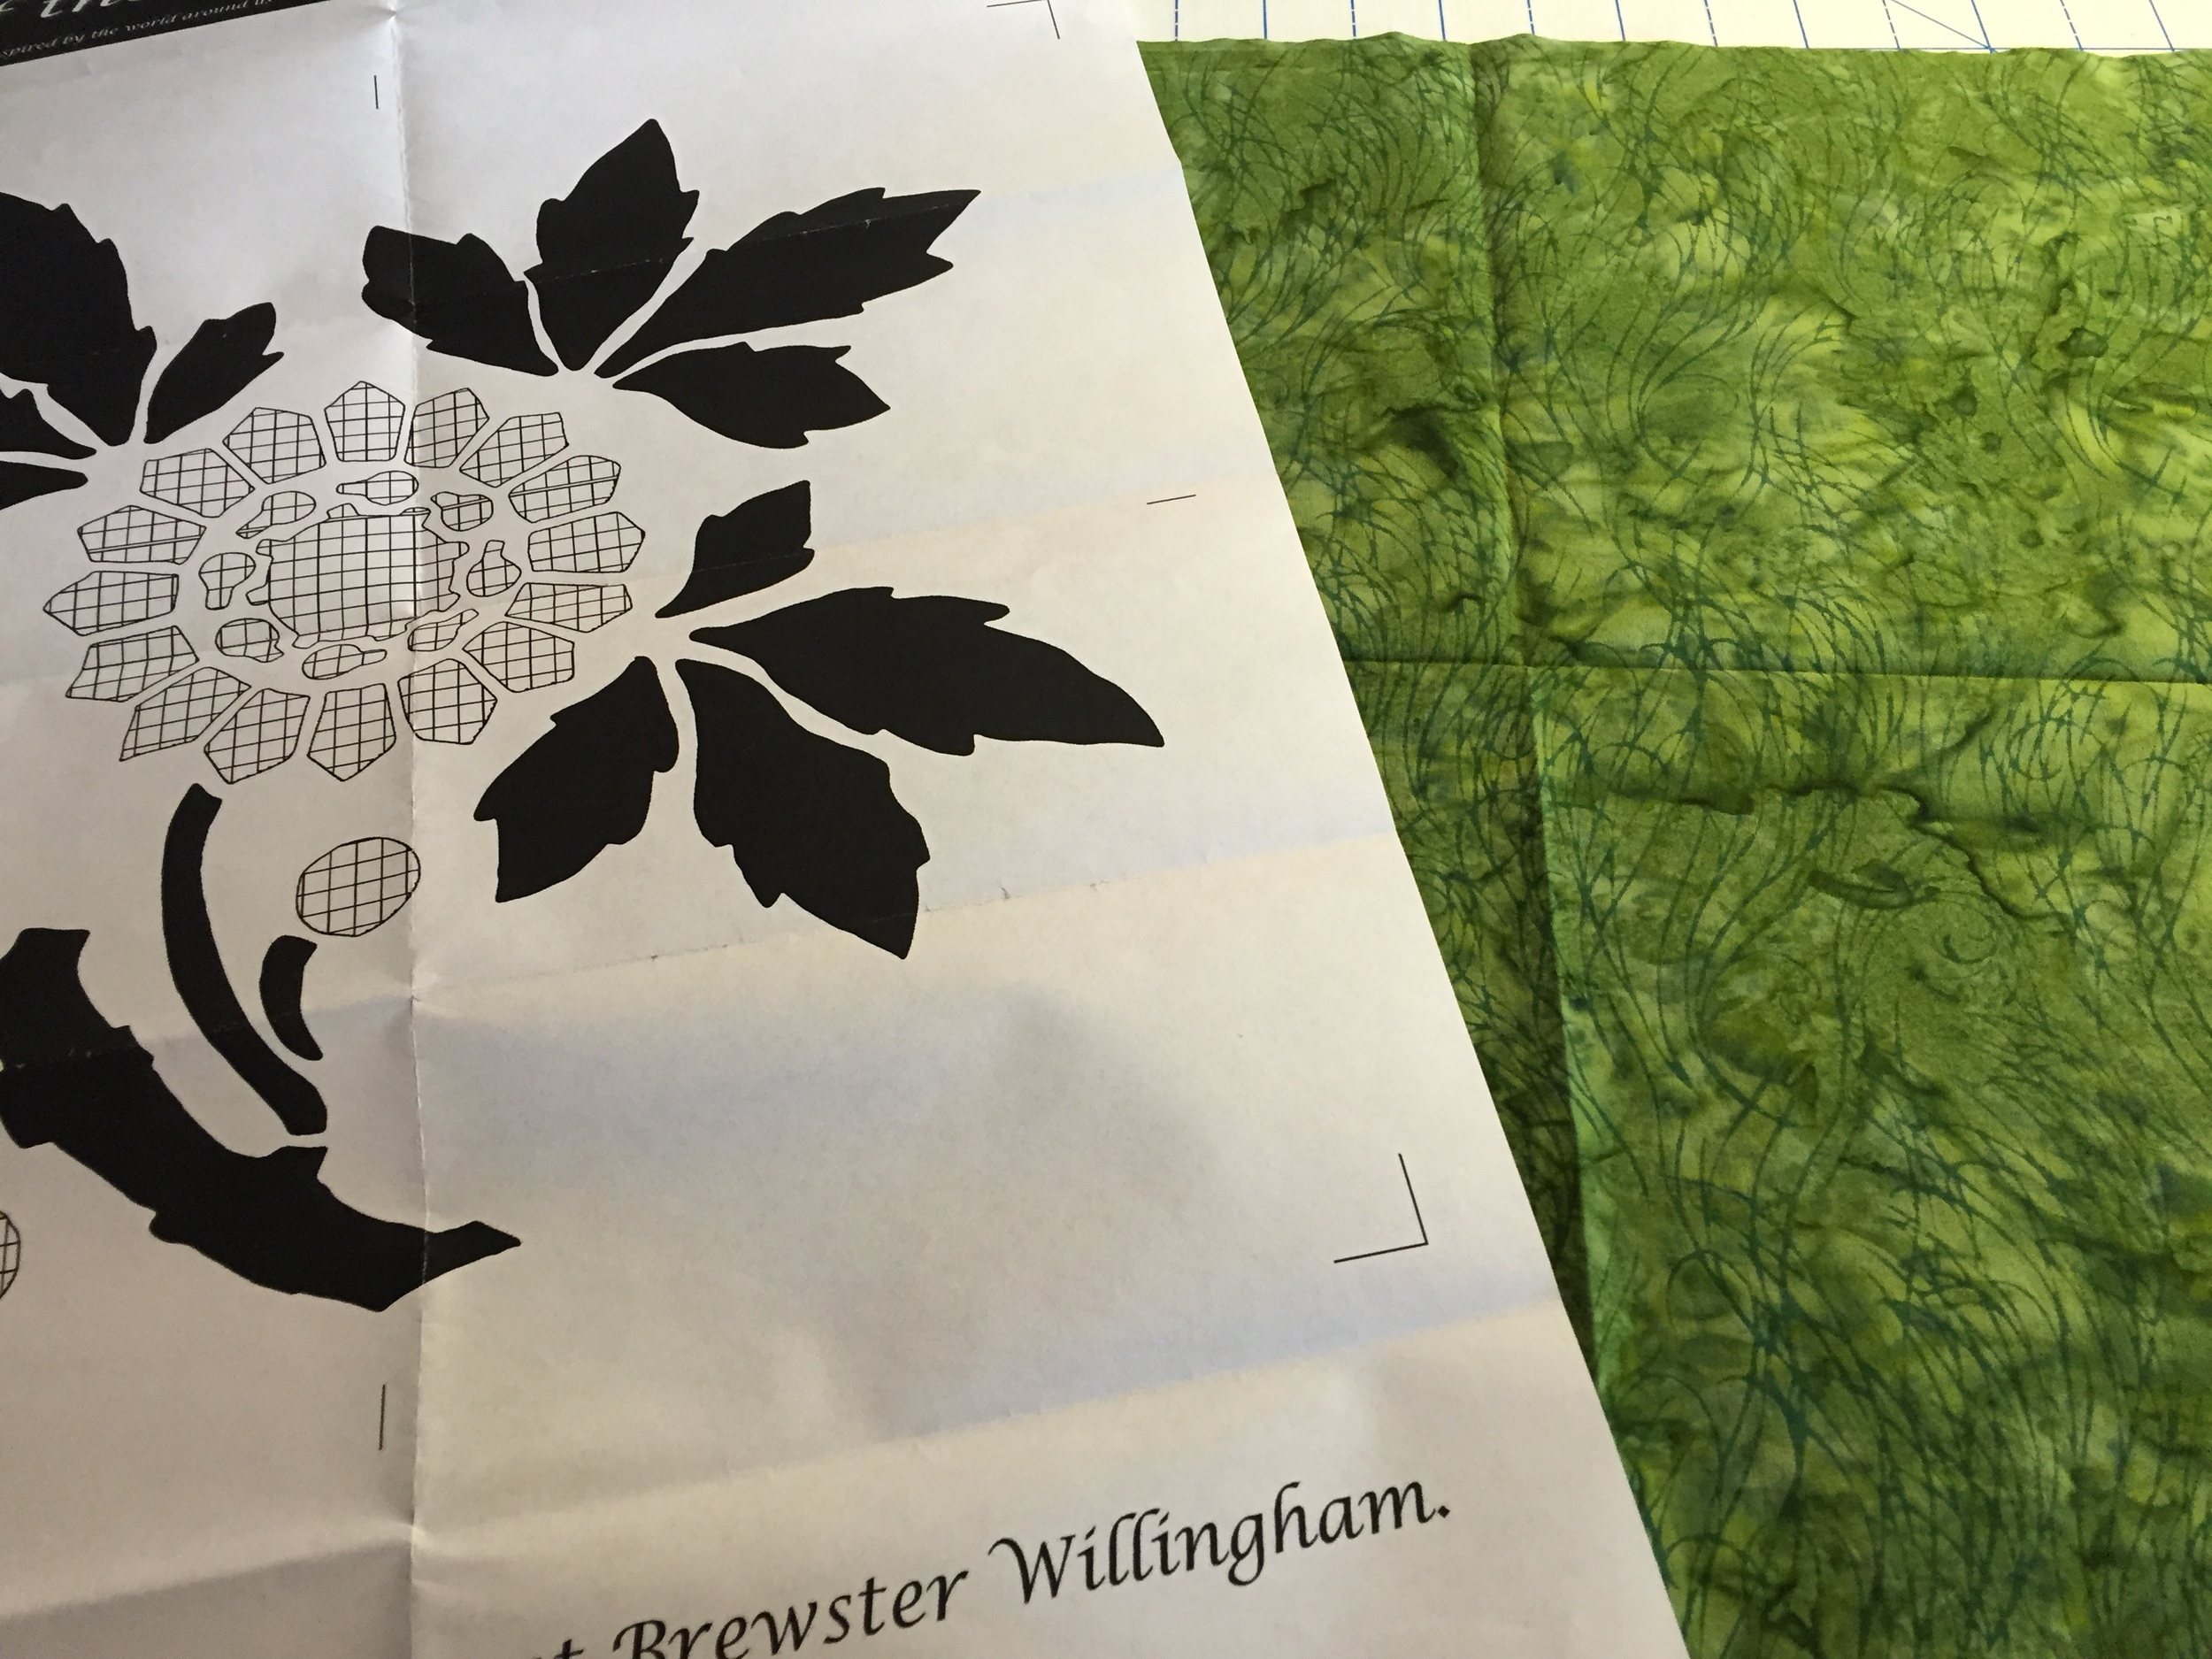
Getting ready to trace Sunflower, 3 of 9 onto fabric.
Darker fabrics can pose a problem.
It can be a challenge to see the pattern design through a medium or dark fabric, and thus easier to get distracted by the fabric’s design when you are tracing.
For darker fabrics I almost always use my lightbox or a window.
When teaching workshops, I've noted that some quilters' lightboxes are not very bright, and it makes it difficult for them to trace because they are struggling to see. Good light makes all the difference in the world.
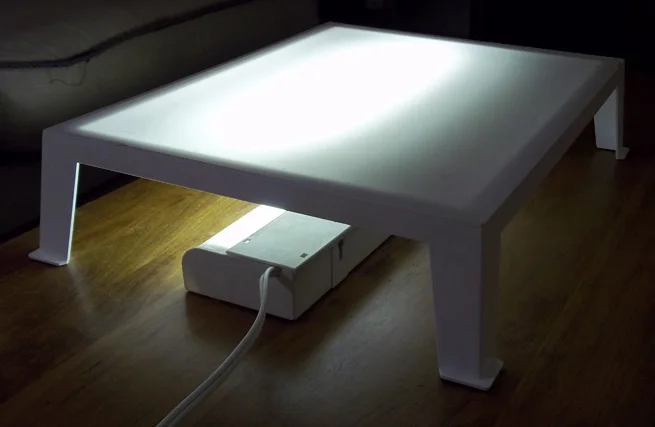
For many years I was fortunate to have a very bright lightbox that got at Jo-Ann's Fabrics about 30 years ago. It had a separate light which could be moved to give me brighter light right where I needed it. The light was actually an under-the-kitchen-cabinet light.
Then in 2016/17 I updated to a lightbox by the Daylight company that is even brighter. It uses LED lights. At first I invested in a small one that fits in my briefcase for when I travel to teach. It is slim and very portable. I loved it! Next I invested in a larger one for use at home. They are a bit pricey, but have been worth every penny. They are very bright! As I have aged and need more light they have given me greater light.
Tracings on a medium fabric with a black gel pen.
Marking tools
For tracing the pattern design onto my background fabric I usually use a mechanical pencil. Recently, though, I've been using the new Frixion gel pens. I know there are mixed reports about these pens. The design disappears with heat, but can re-appear with cold. I would never mark the top of a quilt with them. However, as we are tracing on the wrong side of the background, and that will never show once your piece is quilted, I have not worried. I love how they glide very smoothly on fabric.
Sometimes the mechanical pencil or gel pen is not the best option.
On truly dark fabrics, I found two things worked well for me: a white ceramic pencil, similar to a mechanical pencil, and Chacopy tracing paper.
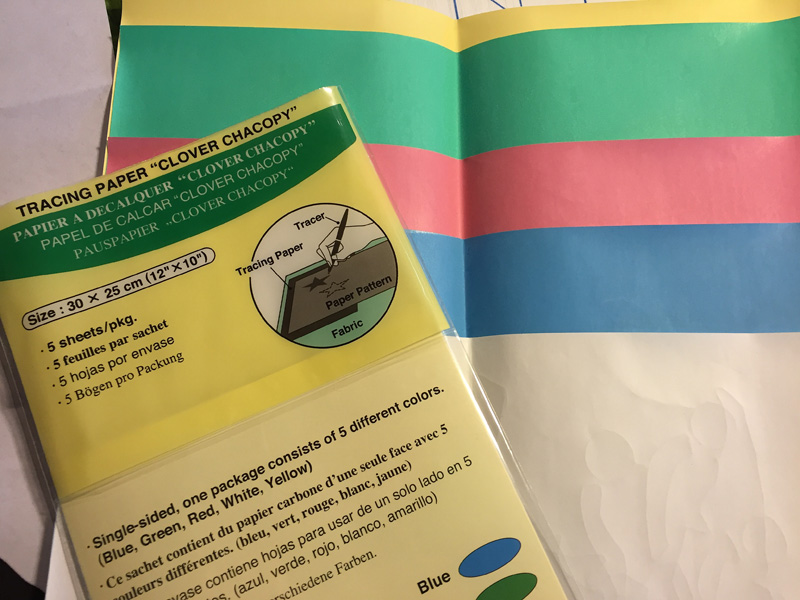
Chacopy Tracing paper by Clover. 5 sheets, 10" x 12", in 5 colors. I got this from Nancy's Notions on line.
Chacopy Tracing Paper
I first used Chacopy when I sewed clothes. My Home Economics teacher introduced me to it in 8th grade. We used it to transfer pattern markings for darts and notches onto our fabric. Clover puts out packages with 5 different colors. It comes in 10” x 12” sheets. Recently I have found it online at Nancy’s Notions. (Chacopy on Nancy's Notions website)
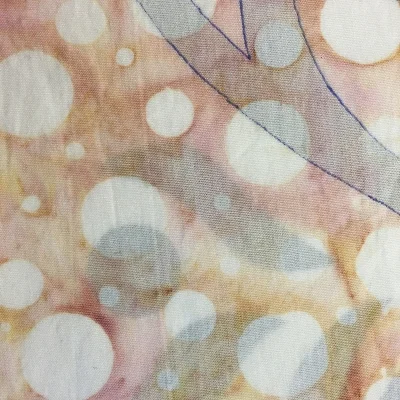
Here’s an example of tracing a pattern onto the same fabric with a frixion gel pen and Chacopy tracing paper so you can see the difference.
Black Frixion gel pen.

White Chacopy tracing paper.
Tracing with Chacopy
When you use Chacopy, you need to lay your pattern and fabric down differently for tracing.
Fabric, then pattern, with Chacopy in-between.
Marking implements for tracing with Chacopy.
Lay your background fabric down on your work surface with the wrong side facing up.
Lay your pattern piece on top of the background fabric, aligning hash marks with your finger-folding. Pin baste. Don’t pin in the middle.
Slide the Chacopy tracing paper, waxy-chalk side down, between your pattern piece and the fabric. You will have to move the Chacopy around to trace the whole pattern as it is smaller than the pattern/ fabric pieces.
Use a stylus, pen or mechanical pencil without lead, to trace all of the pattern.
Trace the design, pressing down firmly as you trace.
Other tracing Hints for our Victorian Flower Garden patterns.
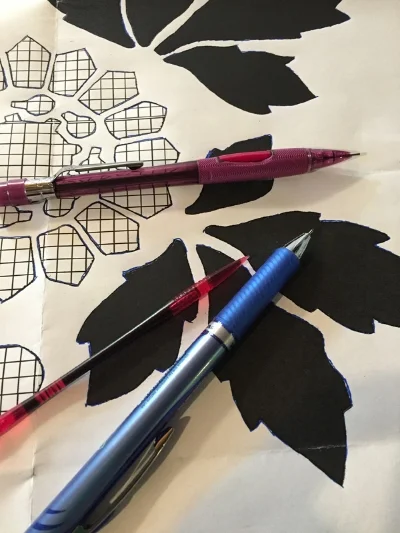
Black & Cross-hatched shapes
When you look at the pattern pieces for the flowers, see picture to the right, you will notice that some of the designs are solid black, and others are cross-hatched. (For more insight into our patterns, see the blog Our Patterns...Photographic Negatives ).
That’s because you can make the flowers completely as reverse applique with two fabrics, or with three fabrics, part as reverse applique and part as applique. If you are making it with 3 fabrics the black shapes are your stems and leaves and you will reverse applique them. The cross-hatched shapes are your blossoms and you will applique these. To make it with two fabrics you will reverse applique all the black and cross-hatched shapes.
When you trace the design onto the wrong side of your background fabric trace the outline of everything, the black and the cross-hatched shapes. You do not, however, need to trace all the cross-hatch lines. If I’m making the 3-fabric variation I put an “x” inside these shapes when I'm tracing, to remind me these will be applique instead of reverse applique.
Hash Marks
You will want to transfer the pattern’s hash marks and corners of the actual block onto your fabric. They are a pattern marking that tells you where to line up the finger folds of your fabric with the pattern, ensuring that the pattern design will be centered on the background fabric. They will help you when you trim the block down to size later.
Making Sunflower, 3 of 9: an example

Sunflower , 3/9: 2 fabric. Made all reverse applique.

Sunflower, 3 of 9: 3 fabric. Reverse applique of stems & leaves, and applique blossoms.
So, its time to get to tracing your pattern. Happy Quilting!
For more great information on marking fabric, check out the article "On Your Mark", by Carol J. Fresia in the July 2016, Number 185 issue of Threads Magazine.