Snip & Trim Tips

1. Look again. What is black will be cut away and discarded. Efflorescent Daisy, FREE pattern when you sign up for our Newsletter.
You've got your piece all basted!
Now it's time to snip and trim away the top fabric to reveal the design in your background. Don't panic.
Trimming the top fabric away makes many nervous. It's not as tricky as you think.
Here are some tips to calm those fears, minimize the Boo-boo factor, and build your confidence.
1. Look again!
Take another look at your pattern and directions paying special attention to where you are going to cut away the top fabric. Remember the carpenters' adage, "Measure twice. Cut once."? The reverse applique-ers twist on this saying is, "Look twice. Cut once".
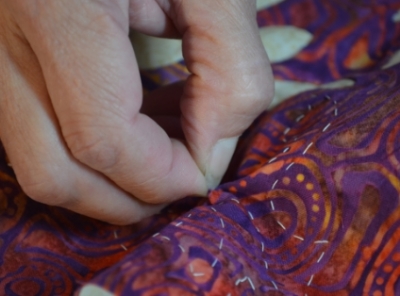
2. Front view. Pinching your top fabric to separate your layers to create a pinched "hill".
2. Separate your layers.
Simultaneously pinch the backside of your background fabric with one hand, and the front side of your top fabric with the other hand. Gently pull the fabrics away from each other, thus separating the layers.
Sometimes I find it helpful to lick my fingers so I can grab the fabric more easily.

2. Back view. Pinching the background fabric to separate the layers.
This creates a pinched "mountain" in your top fabric, and a pinch “iceberg” in your background.
Hold onto the pinched background fabric. As long as you do, you will have a "mountain" in your top fabric.
Get your small, sharp scissors.
As you can see in these pictures, I’m using my small Gingher scissors. Since I wrote this blog I use my 4” Kai bent-handled scissors, with tips specially blunted for this work. Kai does this blunting exclusively for Eye of the Beholder Quilt Design, and they are are available for sale in our shop.
(Click here to read about the specially honed scissors I use. Get them in our shop Kai-Bent-handled, blunt tip Scissors.)
You are ready to make your first snip.
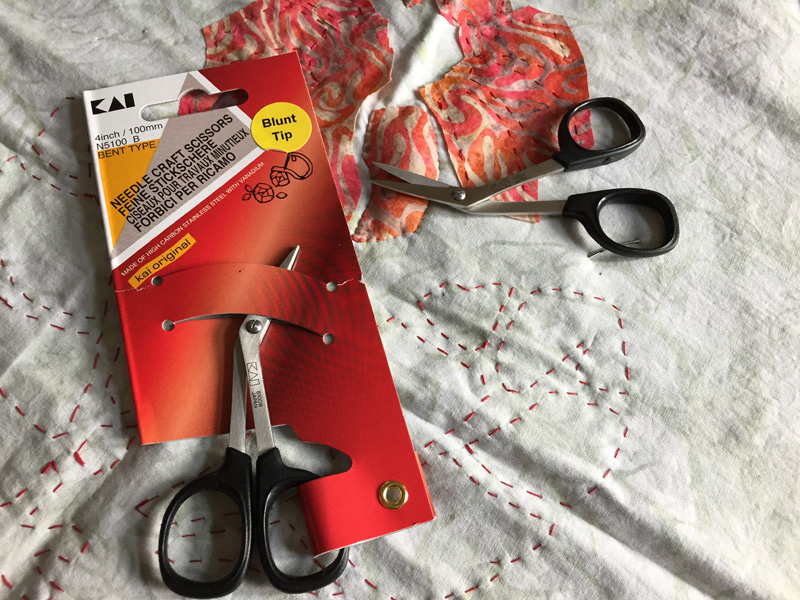
Kai 4”, bent-handled with slightly blunted tips. I use these for trimming away the top fabric to create my seam allowance. The slightly blunted tips is an Eye of the Beholder exclusive.
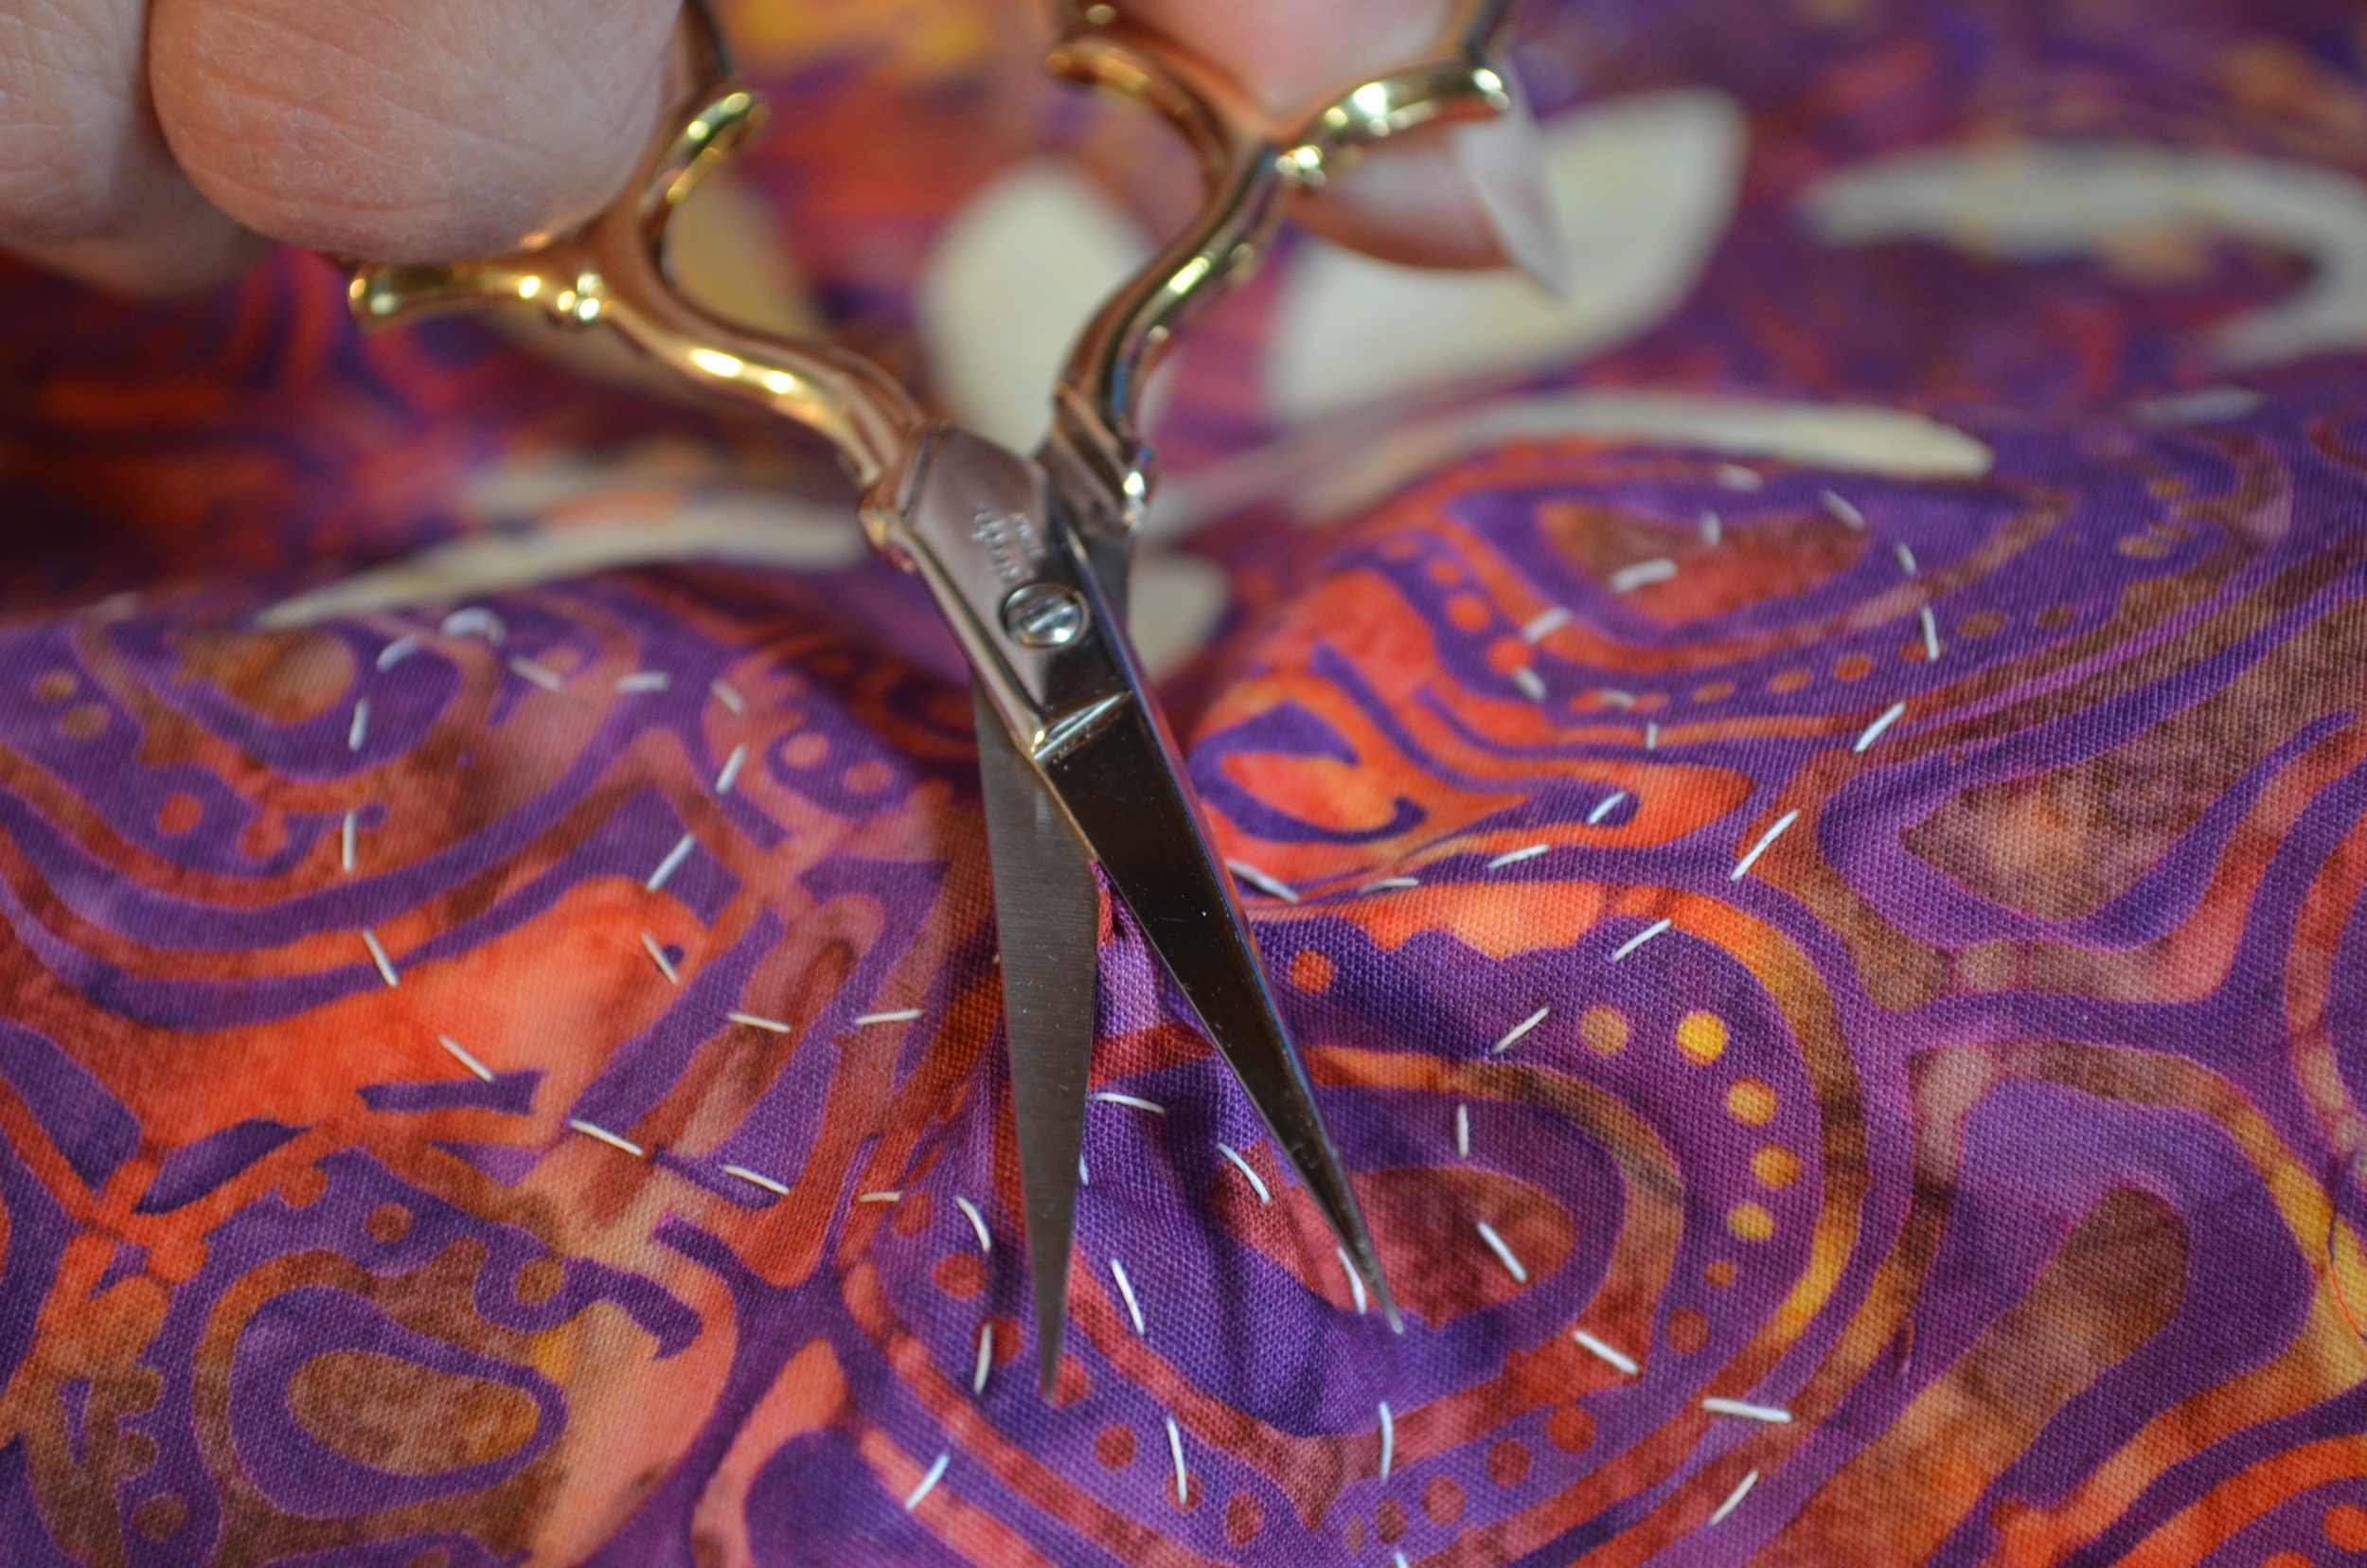
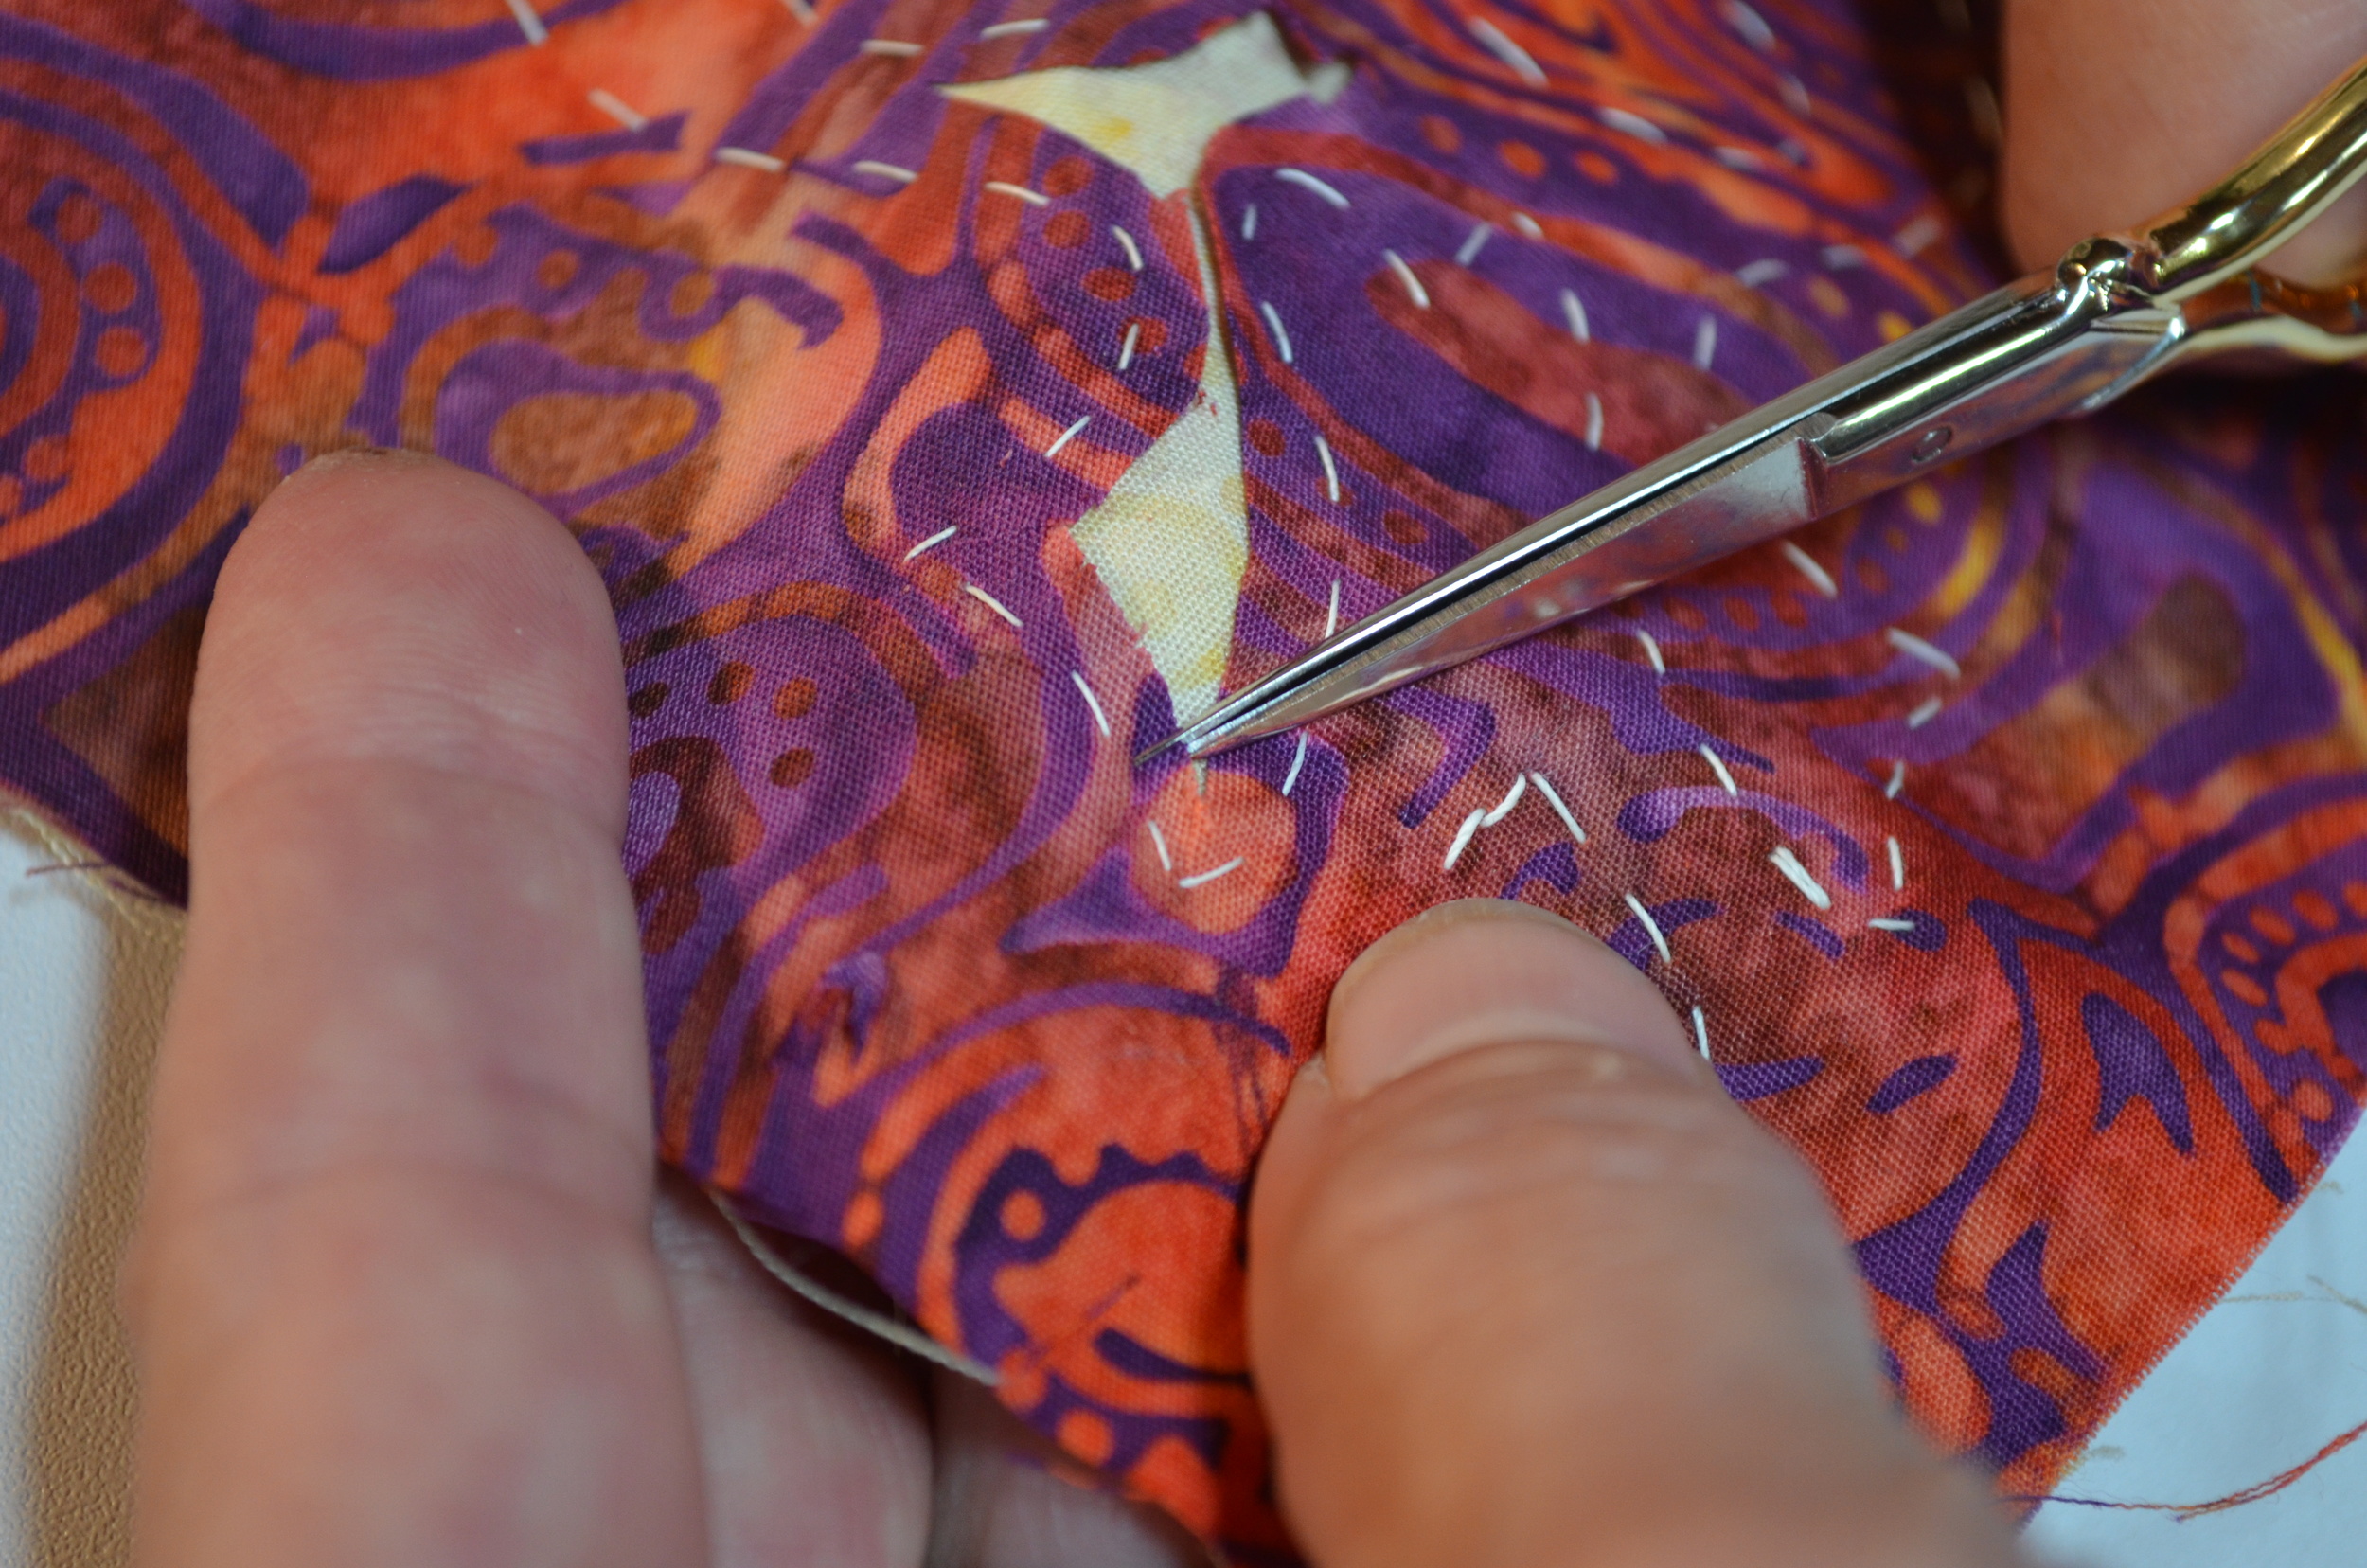
3. Snip in the "hill". Scissors are parallel to the piece. Only making a snip large enough to get my scissors between the layers.
3. Snip the top off the "mountain".
Make a small snip, cutting the top off the mountain. Notice in the picture to the right my scissors are parallel to my fabric piece. I am only making a small snip...just large enough to get my scissors between the layers.
I don't recommend digging into your fabric top with the tip of your scissors. This has a high Boo-boo factor for cutting your background fabric. If you mistakenly cut your background fabric, don't despair. See our blog "OOPS! I Snipped my Background".
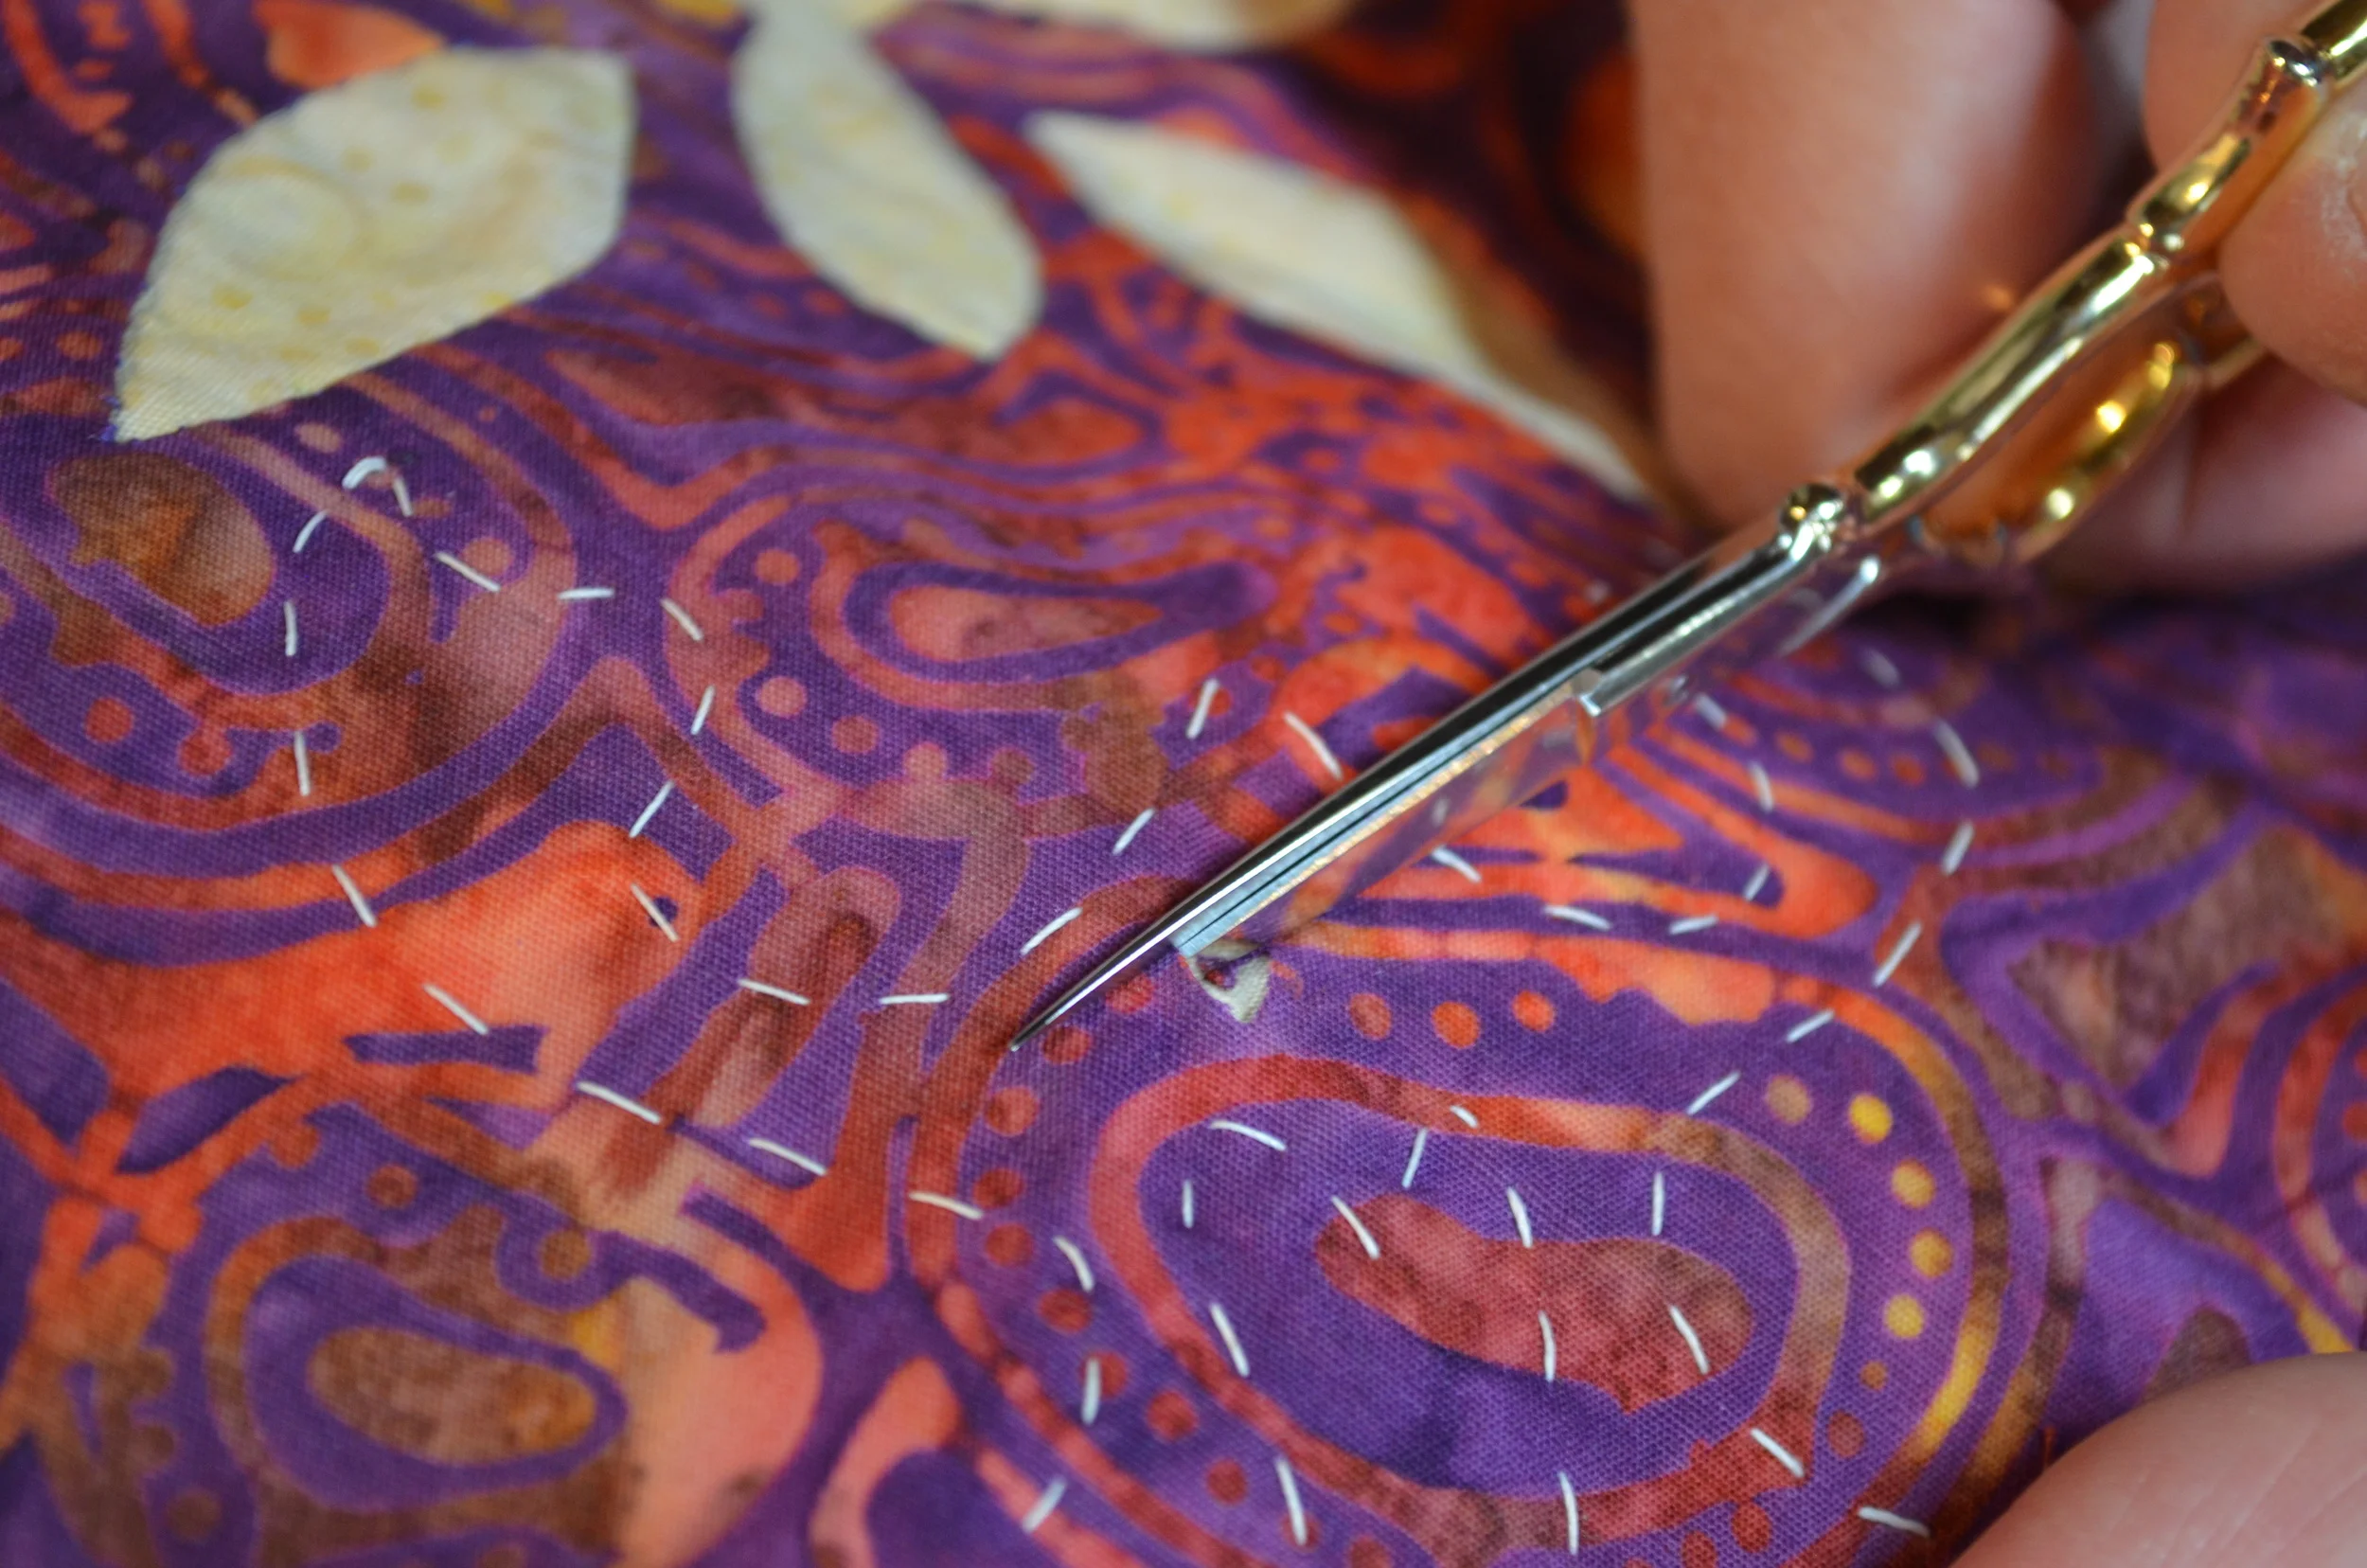
4. Sliding scissors between the layers.
4. Slide scissors between the layers.
Slide the bottom blade of your scissors in between your top fabric and background fabric. I always keep my bottom scissors blade parallel to my background fabric. I rest the whole piece on the fingers of my other hand, keeping the background fabric flat and smooth where I am cutting. This way I can feel my scissor's blade gliding between the fabrics.

5. Creating my seam allowance, cutting with scissors parallel to the basting line, and about 1/8" - 1/4" away from it.
5. Creating my seam allowance.
Keeping your bottom scissor blade parallel to your background fabric, cut the top fabric only with your scissors running parallel to the basting line. Work slowly and carefully. Cut the top fabric, eyeballing a 1/8" - 1/4" seam allowance. Discard what you cut out.
- Keep the fingers of your other hand on the backside as you cut so you can feel what you are doing.
- Keep the background fabric of the section you are cutting flat and smooth across the fingers of your other hand.
- If I feel the tip of my scissors, I know I'm at risk for snipping my background fabric. I ease off and re-position the scissors blade parallel to the background fabric.
- If my scissors catch on the fabric, I again ease off and re-position the scissors blade parallel to the background fabric. I don't make a snip unless I'm sure I have not snagged on the background fabric.
You can trim the whole piece now, or trim one shape of the design at a time.
6. Clipping points and curves.
When clipping, continue to keep the back blade of your scissors parallel to your background fabric, and rest the backside of your piece on the fingers of your other hand.

6. Clipping inside points.
Clip your inside points by sending the tip of your scissors deep into the corner at a 45 degree angle. Go deep...up to the basting line, but not through it. Snip. The depth of your cut on an inside point is one of the keys for sewing a crisp inside point later.
6. Clipping a curve.
Clipping your curves. Snip perpendicular to the basting line: up to, but not through, the basting line. Use your eye and follow the arc of the curve. At each new arc on the curve, make a perpendicular snip. This is true when clipping inside and outside curves. Finding the next curve of the arc and making a snip there, is one of the keys to sewing smooth, round curves later.
Generally I aim my clipping towards the basting stitches. The stitch helps to keep me from clipping beyond my seam line/ basting line. It is also generally gives me about the right number of clips to help my seam allowance sweep under smoothly.
When your basted line is straight, you can opt to clip or not. Over time I've found it makes the stitching easier if I clip the straights, too. Clip in the same manner, perpendicular to the basting line while keeping your bottom scissors blade parallel to your background fabric. Clip about 1/4" apart on the straights.
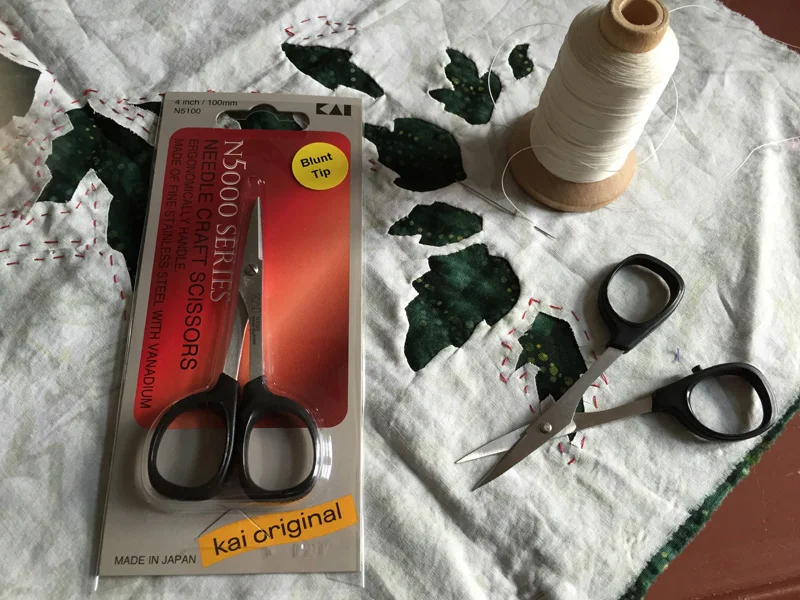
Kai 4” straight blade scissors with slightly blunted tips. These are the scissors I use to clip my points & curves. The slightly blunted tips is an Eye of the Beholder exclusive.
Once you've trimmed and clipped the shape you are working on, you are ready to sew.
One more thought...
I often trim the whole design at one time, but you don’t have to. When I do, I don't clip the points and curves of a particular shape until I am ready to sew. This helps prevent the seam allowances from fraying and creasing from being fold up in my project zip-loc bags.